


Where to buy Cream Chargers: A Comprehensive Guide
For most of us, whipped cream desserts fall somewhere between a daily necessity and a daily pleasure. And if you are reading this, then you
For most of us, whipped cream desserts fall somewhere between a daily necessity and a daily pleasure. And if you are reading this, then you

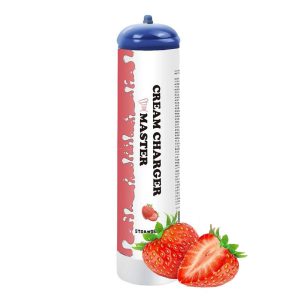
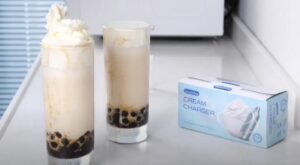
Image sourced from m.indiamart.com At StarWhip, we understand the importance of fast and efficient whipped cream charger delivery. That’s why we’re excited to introduce our

In today’s digital age, online shopping has become a staple for many. From clothes to electronics, almost everything is available at the click of a
Laughing gas, scientifically known as nitrous oxide (N2O), has various applications ranging from medical to culinary. Whether you’re a dentist looking for sedation options, a

In recent times, there has been a significant buzz around the age requirement for purchasing whipped cream chargers, especially in New York. The question arises

Whipped cream chargers have revolutionized the culinary world, making it easier than ever to create fluffy, delicious whipped cream in seconds. But a common question